Thursday 27 June 2013

Installing Ubuntu into my PC


 I started by putting in the installation disk


 I selected English as the language, then i clicked install ubuntu.


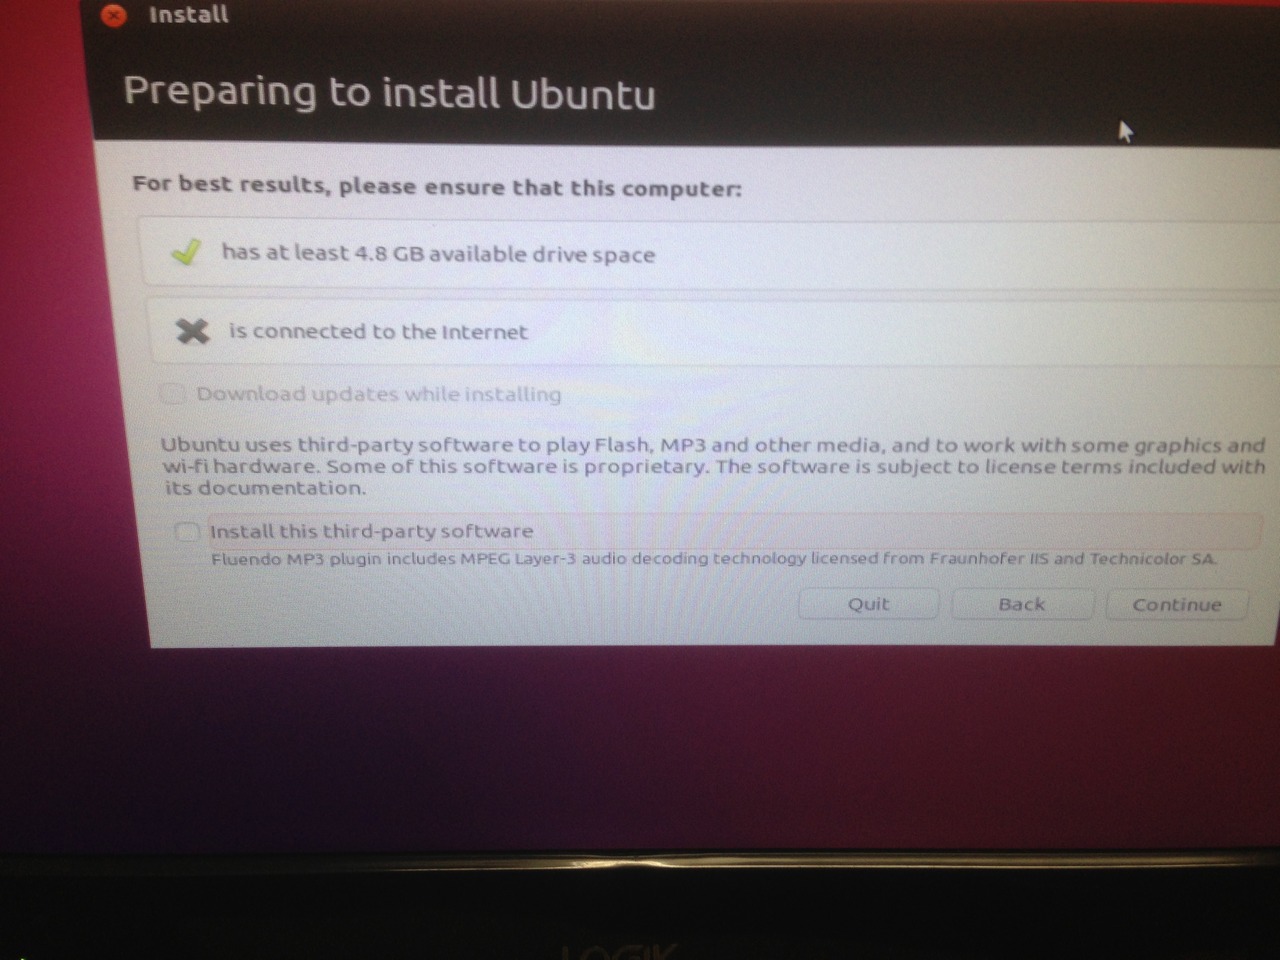
This screen came up, it noticed that i had at least 4.8GBs on my hard drive, but i didnt have internet connection, which means i couldnt install the updates.


Here i click erase disk and install ubuntu, so that my Hard drive is formatted then ubuntu is installed


It then proceeded to install, i changed my location later when i configured my system to meet my user's need


I then selected my keyboard language as English UK


It then continued installing


I completed my install, YAY


My Restarted computer :)

Monday 17 December 2012


I start off with unscrewing the sides of the case to gain access to the inside to start the build. 


After this, i took of the sides of the case to reveal the inside so i can to fit in the hardware

I then inserted the back plate into the case so that the mother board's ports will slot into place when the mother board is screwed into the case.


I then made sure the motherboard correctly lined up with the back plate.
I then screwed the standing screws into the case then placed the motherboard on them. After i had screwed in the motherboard i realized i had put a standing screw in the wrong place. Therefore i had to unscrew the whole motherboard to move the standing screw to the right position and then screwed the motherboard back in.

After i aligned the motherboard up to the standing screws i screwed in the screws into the motherboard, securing it in place 
Once i made sure that the motherboard was securely in place i pulled off the metal grate on the front of the case and placed in the DVD drive with screws. A problem i encountered with this is that they required unique small screws, i had used these screws on the mother board however, so i simply replaced the motherboard screws with different types of screws.
I then slotted in the Hard Drive. I had difficulty with this as i found a couple of slots to put in the Hard Drive wouldn't align with the it to be screwed in. When i found an appropriate slot i then realized it wouldn't have to be slotted in fully, that it would have to stick out a little bit to be aligned with the case so i could put in the screws. Screwing this in i also found difficult as after fully screwing in a screw i found it difficult to put in others, therefore i had to put all 4 screws in then screw each of them a little bit so they would be tightened together.

  I then slotted in the RAM making sure the sides clicked into the ram holding it in place.


The reset switch, power switch, USB Switch, system speaker switch and audio switch were then plugged into the motherboard, i found this difficult as the switches are quite small and have to be slotted into small ports so i found it quite fiddly.

I then slotted in the graphics card. i encountered one problem, which was just me not being observent enough. Where the graphics card goes the case has metal which has to be snapped off. I accidently snapped the wrong one. leaving the insides of the computer exposed. You can see my mistake in this picture.
After integrating the graphics card i then slotted in the CPU. i made sure that i was extremely careful doing this as the cpu is very fragile and one of the most expensive components in the computer. I then put on the cpu fan, which i found i couldnt fit one of its screws in properly, but after fiddiling with it for abit i managed to slot it in.

I then connected up the harddrive and DVD drive to the motherboard.
 I then connected the rest of the cables up and the computer build was complete!
WOOOOOOOO!